 Search
Simple Professional Logo
Page 1 of 1

Simple Professional Logo
![]() by 3loomi Wed Dec 15, 2010 2:51 am
by 3loomi Wed Dec 15, 2010 2:51 am
Simple Professional Logo
Simple Professional Logo
Step 1
Firstly, we are going to be creating a new document. Go File >New and use the settings below and hit enter. You should end up with anew document with light grey and white squares in the background.

Step 2
We are going to be filling our background with a radial gradient.Select the gradient tool from the tools window and set it to radial (atthe top). Set your foreground colour to #2f373f and background to#282c30. Left click in the top left quarter and drag to the bottomright and release.

Step 3
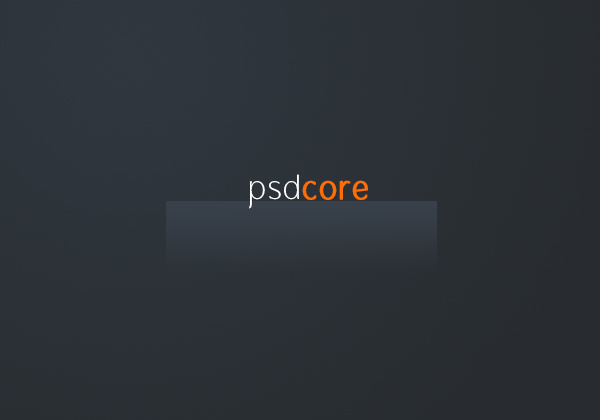
Thirdly, we are going to be adding the text of the logo. Select thetext tool and click in the middle of the document (this creates a newtext layer for you) and type out the name of your site. The font I haveused is ‘Gauntlet Thin‘ (white) & ‘Gauntlet Classic‘ (bold and the colour is #ff6d06). This text effect is just a simple two tone effect but looks clear and professional.

Step 4
Now we are going to be adding a subtle gradient underneath the text.Create a new layer (Layer > New > Layer) and make a selectionlike this using the rectangular marquee tool. Move this new layerbeneath the text layer so it does not overlap.

Step 5
Select the gradient tool and set it to linear this time. Set theforeground colour to #38404a and set the gradient to ‘foreground totransparent’ – this is a default preset. Fill the selection from top tobottom with this gradient so you have something like this.
Step 6
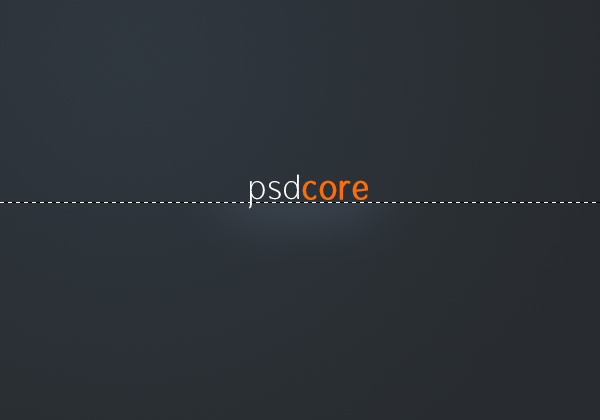
Using a large soft brush (200 pixels) erase the left and ride sides of the gradient.

Step 7
On a new layer make a selection one pixel down from the top of thegradient we just made using the single row marquee tool. This toolmakes a selection one pixel high, and the width of the document.
Step 8
Fill this selection with the colour #
 475563. To fill a selection simply go Edit > Fill with colour.
Step 9
The highlight line is currently taking up the entire width of thedocument, and we only want it to be underneath the text so select thearea of the gradient layer (Ctrl + Click the gradient layer’s icon).Invert selection (Select > Inverse) and remove (delete on thekeyboard) – this deletes everything outside the gradient on thehighlight layer. Make sure you have the highlight layer selected whenyou hit delete (because it will only remove everything in thatselection on the layer selected).

Step 10
Next we are going to be adding a little talk shape. On a new layerselect the custom shape tool and make sure it’s set to shape layers andthe colour is white. Select the ‘talk 2′ shape and make a shape to thetop right of the text.

Step 11
Lastly we are going to give the talk shape a bit of shading so on anew layer select the area of the talk shape (Ctrl + Click layer iconlike before) and contract the selection by a couple of pixels (Select> Modify > Contract).

Step 12
Select the gradient tool and fill the selection with a black towhite gradient from the bottom left corner (so the black side is there).

Step 13
Lower the opacity to 20% and you are finished!

Simple Professional Logo
Step 1
Firstly, we are going to be creating a new document. Go File >New and use the settings below and hit enter. You should end up with anew document with light grey and white squares in the background.
Step 2
We are going to be filling our background with a radial gradient.Select the gradient tool from the tools window and set it to radial (atthe top). Set your foreground colour to #2f373f and background to#282c30. Left click in the top left quarter and drag to the bottomright and release.
Step 3
Thirdly, we are going to be adding the text of the logo. Select thetext tool and click in the middle of the document (this creates a newtext layer for you) and type out the name of your site. The font I haveused is ‘Gauntlet Thin‘ (white) & ‘Gauntlet Classic‘ (bold and the colour is #ff6d06). This text effect is just a simple two tone effect but looks clear and professional.
Step 4
Now we are going to be adding a subtle gradient underneath the text.Create a new layer (Layer > New > Layer) and make a selectionlike this using the rectangular marquee tool. Move this new layerbeneath the text layer so it does not overlap.
Step 5
Select the gradient tool and set it to linear this time. Set theforeground colour to #38404a and set the gradient to ‘foreground totransparent’ – this is a default preset. Fill the selection from top tobottom with this gradient so you have something like this.
Step 6
Using a large soft brush (200 pixels) erase the left and ride sides of the gradient.
Step 7
On a new layer make a selection one pixel down from the top of thegradient we just made using the single row marquee tool. This toolmakes a selection one pixel high, and the width of the document.
Step 8
Fill this selection with the colour #
475563. To fill a selection simply go Edit > Fill with colour.Step 9
The highlight line is currently taking up the entire width of thedocument, and we only want it to be underneath the text so select thearea of the gradient layer (Ctrl + Click the gradient layer’s icon).Invert selection (Select > Inverse) and remove (delete on thekeyboard) – this deletes everything outside the gradient on thehighlight layer. Make sure you have the highlight layer selected whenyou hit delete (because it will only remove everything in thatselection on the layer selected).
Step 10
Next we are going to be adding a little talk shape. On a new layerselect the custom shape tool and make sure it’s set to shape layers andthe colour is white. Select the ‘talk 2′ shape and make a shape to thetop right of the text.
Step 11
Lastly we are going to give the talk shape a bit of shading so on anew layer select the area of the talk shape (Ctrl + Click layer iconlike before) and contract the selection by a couple of pixels (Select> Modify > Contract).
Step 12
Select the gradient tool and fill the selection with a black towhite gradient from the bottom left corner (so the black side is there).
Step 13
Lower the opacity to 20% and you are finished!

3loomi- الجنس :

عدد المساهمات : 826
النقاط : 52399
التقييم : 10
تاريخ التسجيل : 2010-09-01
» 3 Simple Keys to Getting Rid of Fear
» Having Great Skin is as Simple as ABC
» Simple Website Button
» ImageReady Simple Banner Animation
» Two Simple Techniques To Help You Master the Pen Tool
» Having Great Skin is as Simple as ABC
» Simple Website Button
» ImageReady Simple Banner Animation
» Two Simple Techniques To Help You Master the Pen Tool
Page 1 of 1
Permissions in this forum:
You cannot reply to topics in this forum