Draw Eagle Tattoo
Page 1 of 1
 Draw Eagle Tattoo
Draw Eagle Tattoo
photoshop
Make a new file with 1078×640px and 72 dpi. Represent a highlight with the instrument on a black background that is possible to create with the instrument
  .
.

Create a new layer that will have the white color. Place it above the previous one (disconnect the previous one temporarily)

Represent a figure, using the instrument , like it is shown next picture.
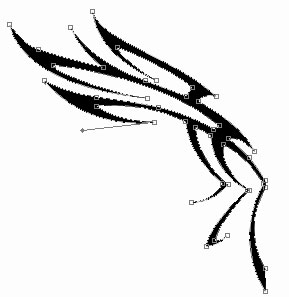
Use the same instrument to represent one more figure, like the next one.

And one more.

Make use of the previous instrument to represent the next figure, demonstrated in the picture below.

And one more.

The next one.

V
V
V
photoshop
Make a new file with 1078×640px and 72 dpi. Represent a highlight with the instrument
 on a black background that is possible to create with the instrument
  .
. 
Create a new layer that will have the white color. Place it above the previous one (disconnect the previous one temporarily)

Represent a figure, using the instrument
 , like it is shown next picture.
Use the same instrument to represent one more figure, like the next one.

And one more.

Make use of the previous instrument to represent the next figure, demonstrated in the picture below.

And one more.

The next one.

V
V
V

3loomi- الجنس :

عدد المساهمات : 826
النقاط : 54399
التقييم : 10
تاريخ التسجيل : 2010-09-01
 Re: Draw Eagle Tattoo
Combine all the layers, for your convenience, that finally form abird’s wing. Copy the group’s layer. Using Free Transform option, turnit around, like in the next step.

Make use of the old instrument to represent the figure below.
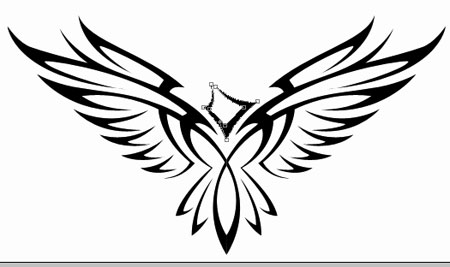
And one more.
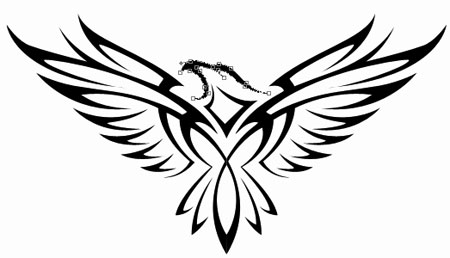
Keep connected now only those layers, that form the bird’s silhouette. Unite them (Ctrl + Shift +E) and we’ll get:
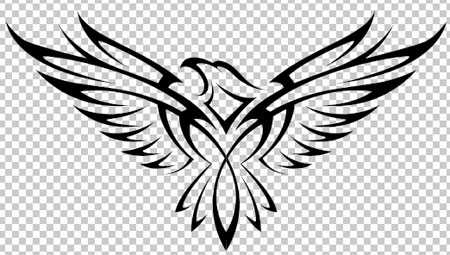
Use the next parameters indicated below
Blending Options-Gradient Overlay
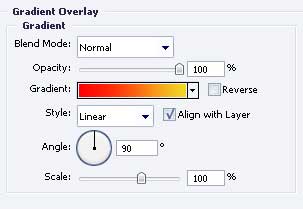
Gradient’s parameters

We’ll get the next:

Connectthe layer having the dark background, lighted a little in its center.Place out the bird’s silhouette above the mentioned layer.

Use Free Transform option to turn around the layer with the bird’s silhouette, like it is shown the next step.
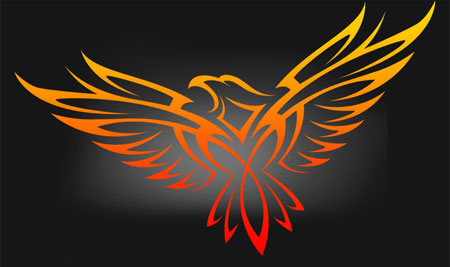
The final result!

Make use of the old instrument
 to represent the figure below.
And one more.

Keep connected now only those layers, that form the bird’s silhouette. Unite them (Ctrl + Shift +E) and we’ll get:

Use the next parameters indicated below
Blending Options-Gradient Overlay

Gradient’s parameters

We’ll get the next:

Connectthe layer having the dark background, lighted a little in its center.Place out the bird’s silhouette above the mentioned layer.

Use Free Transform option to turn around the layer with the bird’s silhouette, like it is shown the next step.

The final result!

3loomi- الجنس :

عدد المساهمات : 826
النقاط : 54399
التقييم : 10
تاريخ التسجيل : 2010-09-01
 Similar topics
» Draw Tattoo Composition
» to draw in photoshop
» draw Blackberry mobile - photoshop
» Corel DRAW tutorials
» coral draw tuts
» to draw in photoshop
» draw Blackberry mobile - photoshop
» Corel DRAW tutorials
» coral draw tuts
Page 1 of 1
Permissions in this forum:
You cannot reply to topics in this forum Home
Home