Create A Colorful Cocktail Icon Using Illustrator
Page 1 of 1
 Create A Colorful Cocktail Icon Using Illustrator
Final Image Preview
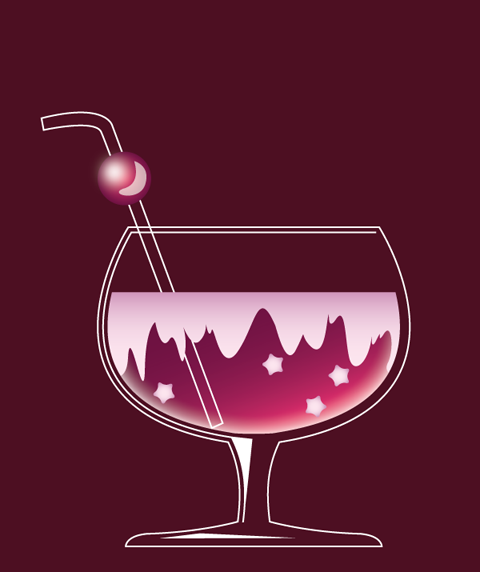

Step 1
Open
Illustrator, set up a new document and give it a background by drawing a
rectangle of the same size as your art board. I used #4E1123 for it.
Lock the background sublayer.

Step 2
Select
the Pen Tool (P) and a path that will be a half of the glass. This will
probably take a couple of tries till you get the needed shape. Give
this line a 2pt white stroke and no fill.

Make
a copy of this path and reflect it to create a glass. Move your copy to
the left a little if your glass is too wide ( that’s the most common
mistake ).
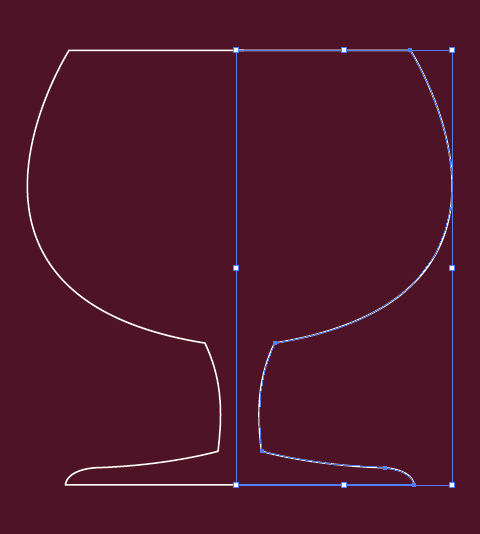
Select both paths and click the Unite button in the Pathfinder palette to create one single path.
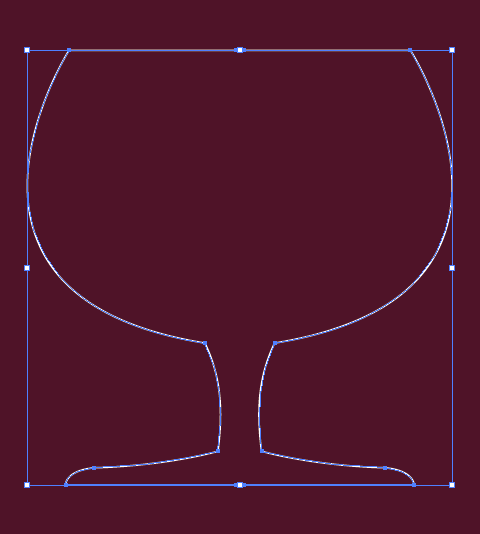
With
the resulting path still selected go to Object > Path >
Offset Path. Enter -8 pixel for as Offset value and hit Enter.
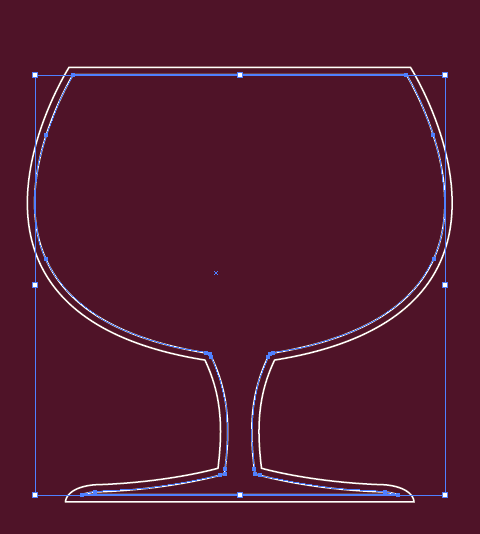
Select the Scissors Tool (C) and click on the anchor points that are highlighted in the image below.
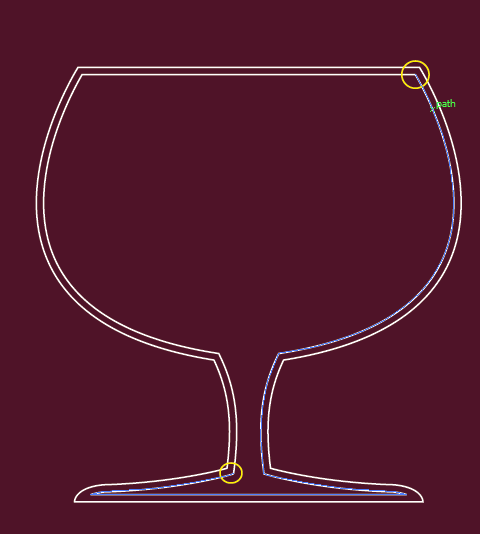
Delete the right part of path that we’ve just cut.

Step 2
Select the main glass path and select the Offset Path command again. Set -15 pixel as the Offset value this time.

Select the Delete Anchor Point Tool (-) and delete the whole lower part of the newly created path.

Press M to select the Rectangle Tool and draw a rectangle that intersects the smallest path.
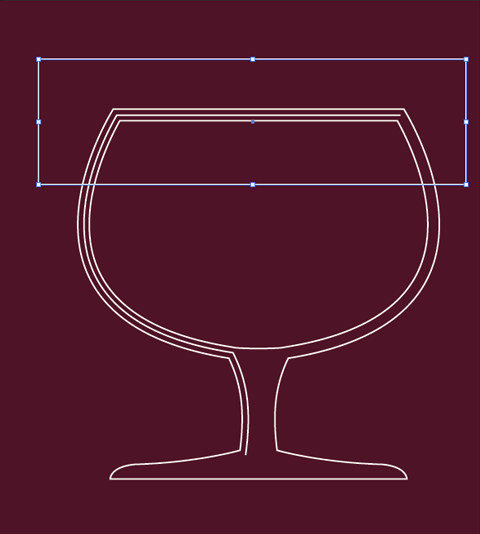
Select the smallest path and the rectangle and press Minus Front button in the Pathfinder palette.
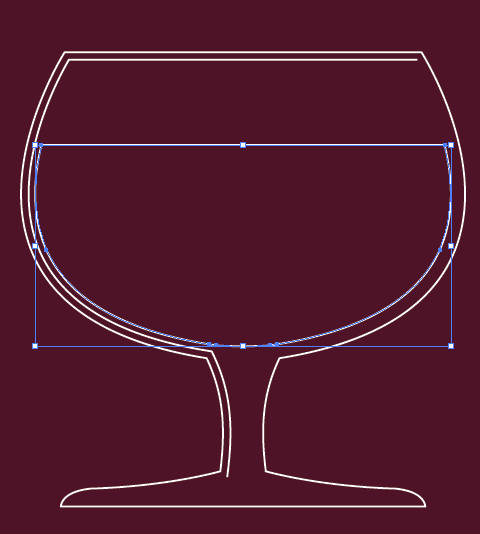
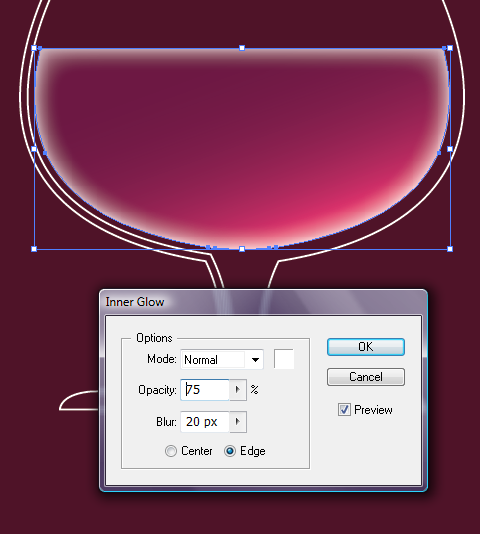
Apply a linear, vertical gradient from #6D1241 to #C62E68 .
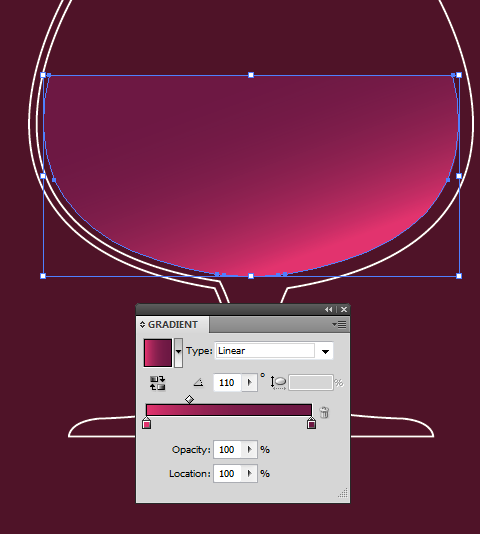
With this path still selected go to Effect > Stylize > Inner Glow and enter these settings.
Step 3
Create
a copy of the liquid path. Select the Pen Tool (P) and draw a random
path as you see below. The top part of the liquid itself will be frozen.
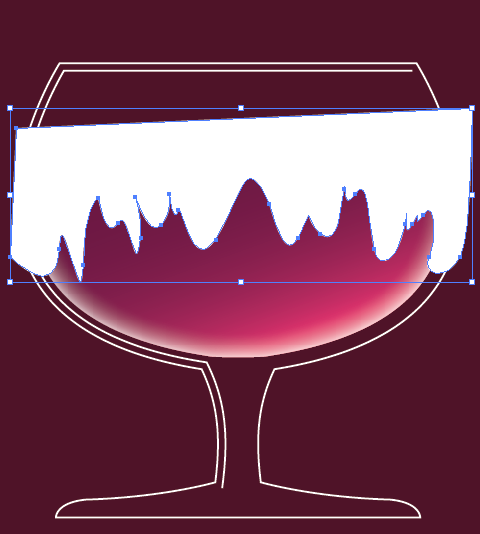

Select
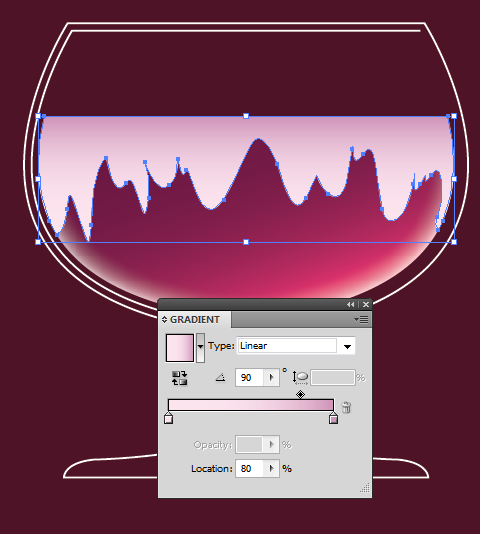
the ice path and the liquid copy path and press the Intersect button in
the Pathfinder palette. Give the resulting path a linear gradient from
#D195B9 to #FCE5EF .
Using
Star Tool that is located under the Rectangle Tool draw a small star
somewhere near the glass. Use Eyedropper Tool to apply the same gradient
as we used for the ice on it but make i radial this time.
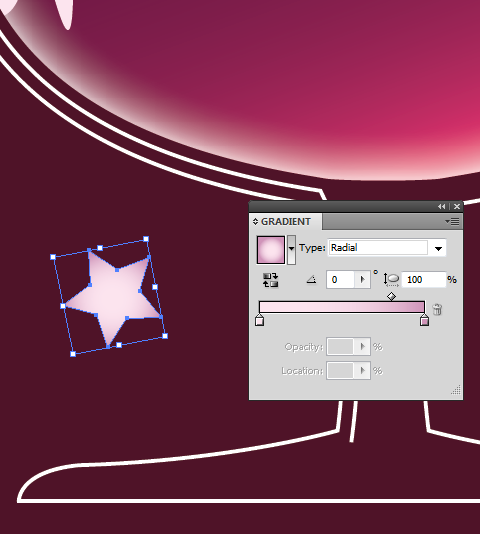
Select the star and go to Effect > Stylize > Round Corners and enter 5 pixel Radius value.
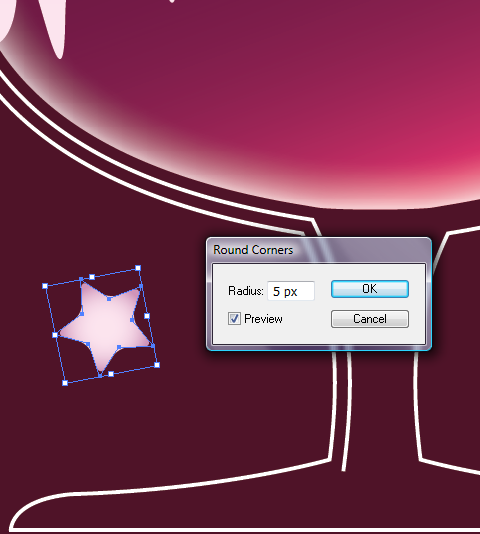
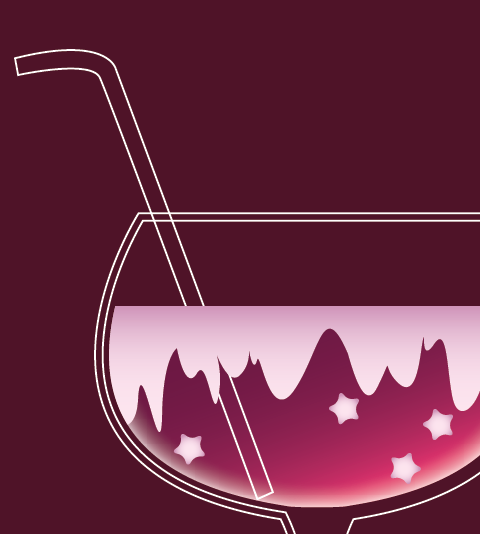
Make another three copies of this star and place them on the glass.

Step 4
Use Pen Tool (P) to draw a straw. Move straw sublayer under the ice sublayer.
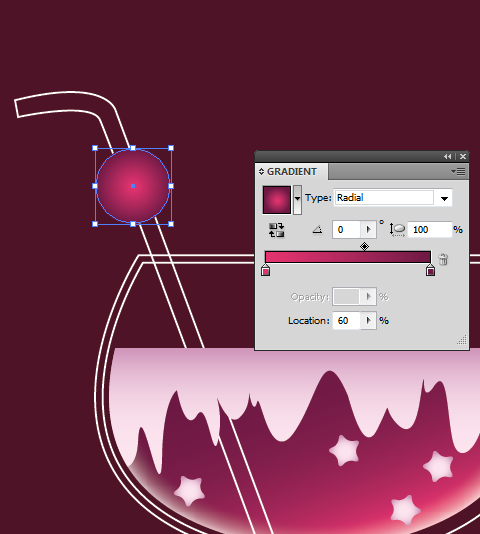
Select
Ellipse Tool (L) and draw a circle on the straw. Use Eyedropper Tool
(I) and click on the liquid to apply the same settings to the circle and
then make the gradient radial.
Now draw another, smaller, white circle.
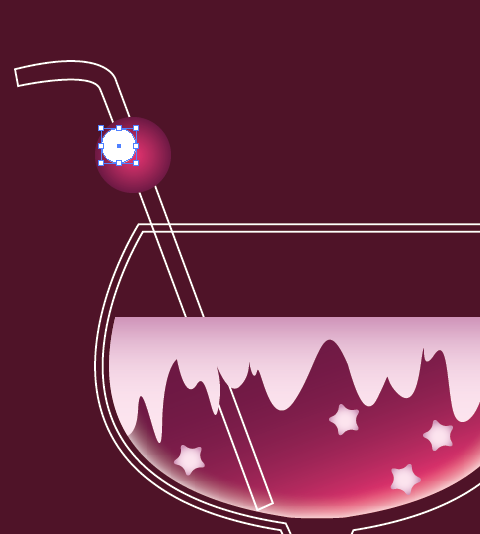
Go to Effect > Blur > Gaussian Blur and set the Radius to 30 pixels.

Step 5
Use Pen Tool again to draw white highlights on the glass.
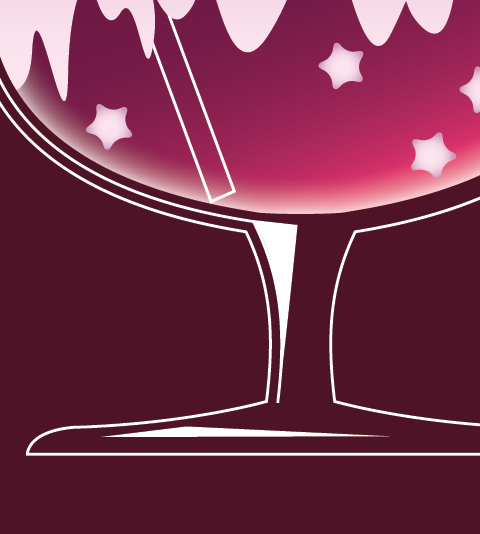
Draw a white highlight on the circle and set it’s opacity to 70%.

Final Result

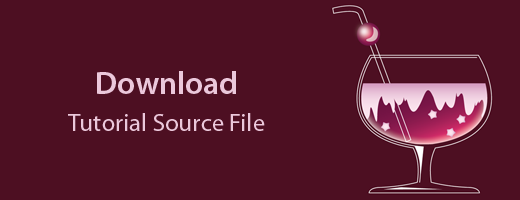
http://creativenerds.co.uk/tutorials/create-a-colorful-cocktail-icon-using-illustrator/#more-9907
 Similar topics
» How to Create Snooker App Icon Using Adobe Illustrator and SubScribe Designer Plugin
» Create a 3D Typography Poster in Illustrator
» Create a Vector Object in Illustrator Using Layers and the Pen Tool
» 50 Illustrator Tutorials To Create High Quality Icons
» Colorful Plexi Text Effect using Photoshop 2digg
» Create a 3D Typography Poster in Illustrator
» Create a Vector Object in Illustrator Using Layers and the Pen Tool
» 50 Illustrator Tutorials To Create High Quality Icons
» Colorful Plexi Text Effect using Photoshop 2digg
Page 1 of 1
Permissions in this forum:
You cannot reply to topics in this forum Home
Home